
Hello folks! In the world of modern Android Development, a landing page is more than just a static entry point, it’s the first opportunity to captivate a user’s imagination. By leveraging AGSL, we can transcend the limitations of standard views and paint pixels with dynamic, mathematical precision that brings a UI to life. In this article we will dive into how a single custom view can build a visual effects, from subtle noise textures to complex, reactive animations, all running performantly on the GPU. But before we dive into the code, a quick note for those who might be seeing AGSL for the first time. If the idea of manipulating pixels directly on the GPU sounds foreign, don’t worry. I’ve written a comprehensive introduction that explains the core concepts without the heavy math. You can catch up by reading my previous article, which will give you the perfect foundation for the effects we are about to build.
Beyond Standard UI through Unlocking the True Power of Android Shaders
Page Study Case
Let’s begin by breaking down the visual design of the landing page we are going to implement.
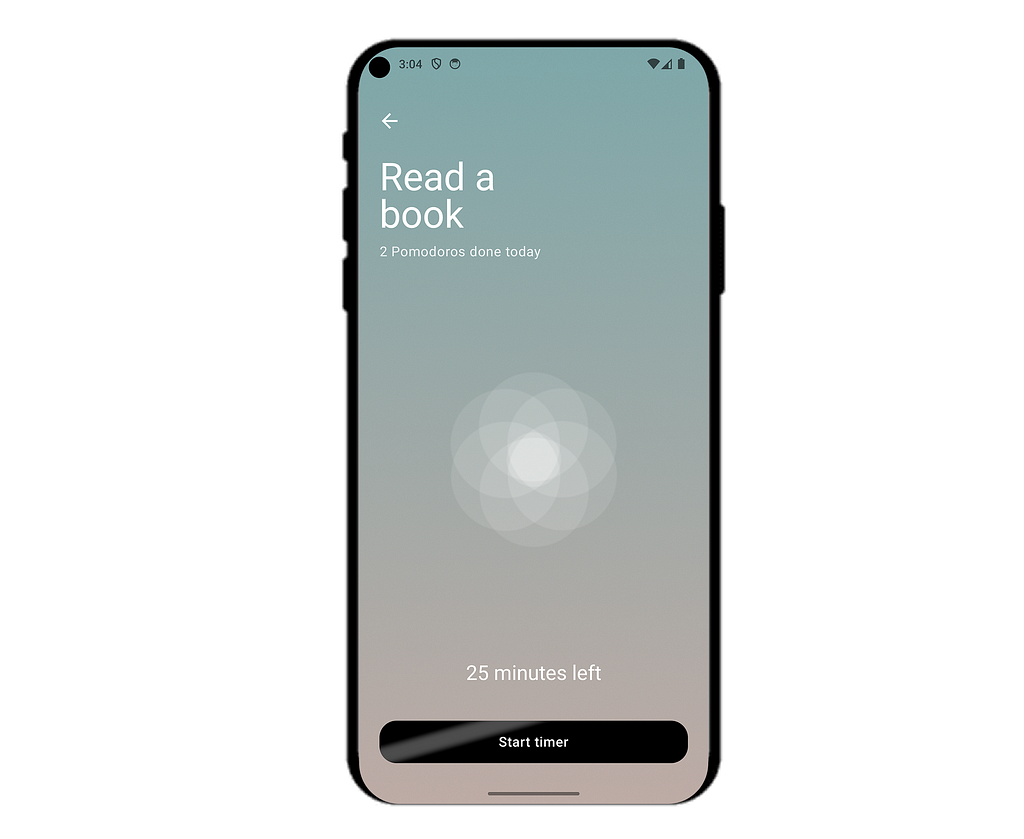
In this case study, we will focus on these key parts of our UI, the background, the central flower graphic, and the primary action button. Instead of relying on standard android drawable, we will render each of these using AGSL. This approach allows us to inject life into the UI through real time color manipulation and smooth, high performance animations that run directly on the GPU.
Build the Background
Standard android gradient are efficient, but they often suffer from color banding those visible, ugly steps between colors on high resolution screens. By implementing our background in AGSL, we gain per pixel control thats allows us to do two powerful things, mix colors with mathematical precision and introduce procedural noise. This subtle grain acts as a dithering effect, smoothing out the transition and giving the UI a premium, paper like texture without the file size overhead of a static PNG image. Below is the GradientShaderSource, this AGSL script acts as the blueprint for our background, calculating the gradient mix and pixel noise in a single pass.
@Language("AGSL")
val GradientShaderSource = """
    uniform float2 resolution;
    layout(color) uniform half4 topColor;
    layout(color) uniform half4 bottomColor;
    float random(float2 st) {
        return fract(sin(dot(st.xy, float2(12.9898,78.233))) * 43758.5453123);
    }
    half4 main(float2 fragCoord) {
        float2 uv = fragCoord / resolution;
        half4 color = mix(topColor, bottomColor, uv.y);
        float noise = (random(uv) - 0.5) * 0.05;
        return color + noise;
    }
"""
To understand how this shader transform a flat view into a textured surface, we need to look at the three core components of the script, such as the uniform as inputs, the mixer as gradient logic, and the noise generator as texture. Let’s break it down line by line.

These are the variables above will send from our Kotlin code to the GPU.
- resolution → the width and height of our drawing area. Because we need this to understand where we are in the screen.
- topColor and bottomColor → the two colors we want to blend.
- layout(color) → this is an AGSL specific keyword, it tells android that these variables represent colors, allowing the system to handle color spaces correctly.
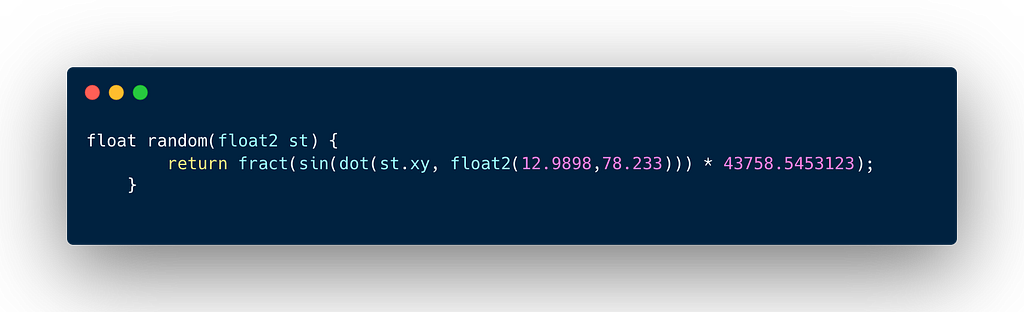
The random function above to provide randomizer because GPU lack a built in randomizer, so we create a pseudo random hash. This function takes a pixel coordinate, multiplies it by magic numbers to break any patterns, amplifies it with a sine wave, and extracts the fractional part. The result is a value between 0.0 and 1.0 that looks like static noise.

The block code above inside main function, there is fragCoord gives us the absolute pixel position. However, shaders prefer to work in a standardized range from 0.0 to 1.0, regardless of screen density. By dividing the resolution, we get a value called uv. The uv.y will be 0.0 at the top of the view and 1.0 at the bottom. This creates a perfect ruler for our gradient.

The mix function above is the shader equivalent of linear interpolation (lerp). It blends the topColor and bottomColor based on the third parameter (uv.y). If uv.y is 0 (top), we get pure topColor and if uv.y is 1 (bottom), we get pure bottomColor. Anything in between is a smooth mix of both.
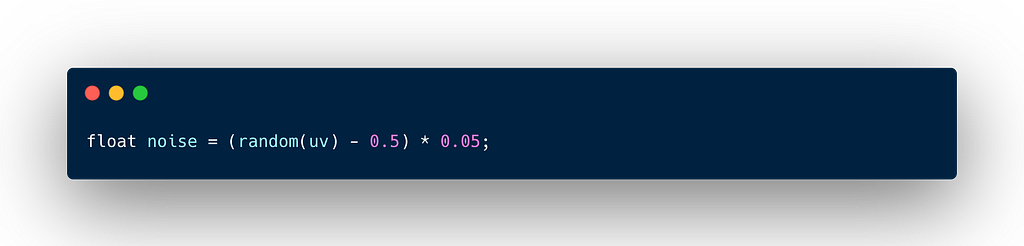
The code above is unlock the power of shaders. Standard gradients are mathematically perfect, which can look sterile on screen, and to fix it we will add the noise.
- random(uv) → This calls the helper function a classic one liner in shader programming that uses sine waves and dot products to generate a pseudo random number between 0.0 and 1.0 for every pixel.
- -0.5 → This value subtract 0.5 to shift the range to -0.5 to +0.5. This ensures the noise makes some pixels slightly brighter and others slightly darker, keeping the average brightness the same.
- *0.05 → This value will scale down the result so the noise very subtle like 5% intensity, just enough to add texture without looking broken TV static.
The code above is the final to calculate noise value to the smooth gradient color. The result is a rich, textured background that feels more organic than a standard android xml/jetpack compose gradient.
Now, with our shader logic defined, the next step is to bridge the gap between our text based AGSL code and the actual Android rendering pipeline. We need to instantiate the shader in Kotlin and paint it onto the screen, like the code below.
@RequiresApi(TIRAMISU)
@Composable
fun AgslGradientBackground(
    modifier: Modifier = Modifier,
    topGradientColor: Color,
    bottomGradientColor: Color,
    content: @Composable BoxScope.() -> Unit
) {
    val shader = remember { RuntimeShader(GradientShaderSource) }

    val shaderBrush = remember(shader, topGradientColor, bottomGradientColor) {
        shader.setColorUniform("topColor", topGradientColor.toArgb())
        shader.setColorUniform("bottomColor", bottomGradientColor.toArgb())
        ShaderBrush(shader)
    }

    Box(
        modifier = modifier
            .fillMaxSize()
            .drawBehind {
                shader.setFloatUniform("resolution", size.width, size.height)
                drawRect(shaderBrush)
            },
        content = content
    )
}
The code above is function does three critical jobs, such as compiles the shader, passes the color data, and paints the result onto the canvas, let’s break it one by one :
The code above is wrap our AGSL string in a RuntimeShader object. Using remember is crucial here because we only want to compile this shader script once when the Composable enters the composition, not every time it recomposes.

The block code above acts as the bridge between compose state and the GPU. Whenever our Kotlin colors change, we update the shader’s uniform variables. We then wrap the shader in a ShaderBrush, which allows standard Compose UI components to use it just like a solid color or a standard gradient.
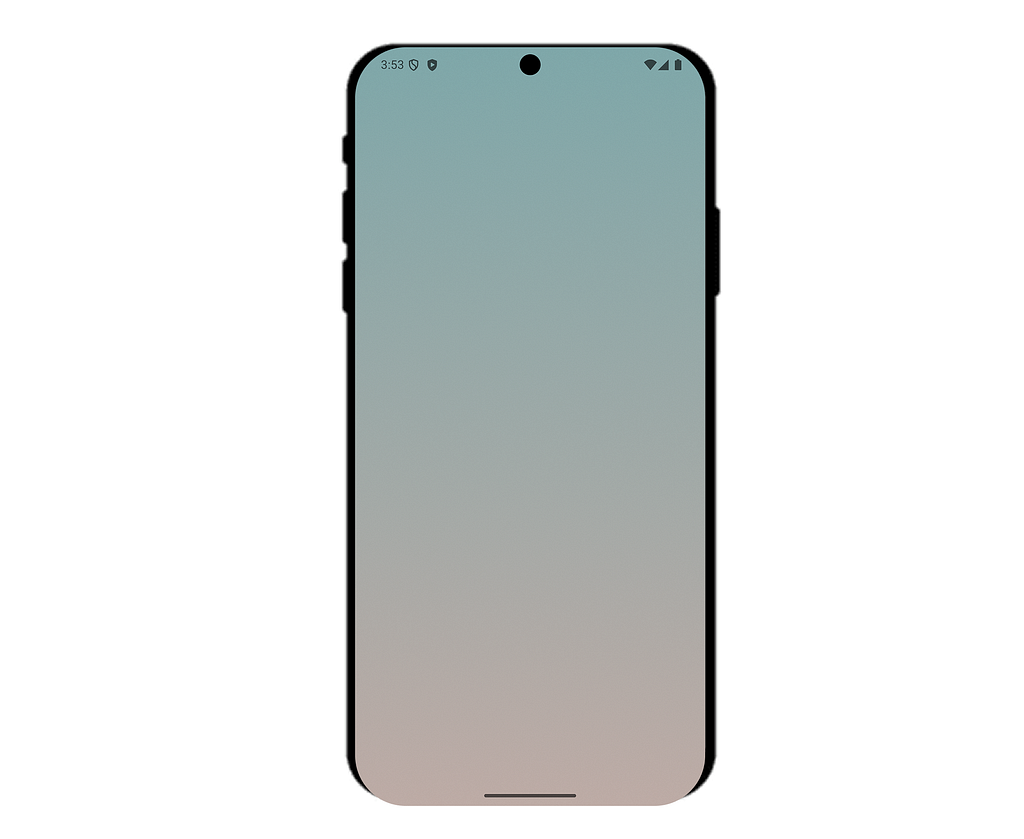
The code above will render the background, we use the drawBehind modifier because it gives us direct access to the DrawScope. Beside that, we need put the resolution here. Why? Because resolution is only known during the layout drawing phase, not during composition . Inside this block, we read the current size and pass it to the shader immediately before drawing the rectangle. With the AGSL component integrated, the resulting UI now renders as shown below.
Build the Flower Shader
Now that we’ve mastered the background, let’s dial up the complexity. The next component is rotating flower. Unlike the background, which focused on texture, this shaders relies heavily on geometry and time based animation to create a living shape, like the code below.
@Language("AGSL")
private const val FlowerShaderSource = """
    uniform float2 resolution;
    uniform float time;
    layout(color) uniform half4 color;

    half4 main(float2 fragCoord) {
        float2 uv = fragCoord.xy / resolution.xy - 0.5;
        uv.x *= resolution.x / resolution.y;
        float breath = sin(time) * 0.15 + 1.15;
        float glowIntensity = (sin(time * 2.0) * 0.5 + 0.5) * 0.4 + 0.6;
        float rot = time * 0.1;
        float c = cos(rot);
        float s = sin(rot);
        uv = float2(uv.x * c - uv.y * s, uv.x * s + uv.y * c);

        float accumulatedAlpha = 0.0;
        for (float i = 0.0; i < 6.0; i += 1.0) {
            float angle = i * (6.28318 / 6.0);
            float2 offset = float2(cos(angle), sin(angle)) * 0.15 * breath;
            float dist = length(uv - offset);
            float radius = 0.25 * breath;
            float circle = smoothstep(radius + 0.005, radius - 0.005, dist);
            accumulatedAlpha += circle;
        }
        float centerDist = length(uv);
        accumulatedAlpha += smoothstep(0.13 * breath, 0.12 * breath, centerDist);
        float finalAlpha = accumulatedAlpha * 0.15 * glowIntensity;

        return half4(color.rgb, finalAlpha);
    }
"""
The code above is significantly more complex than the background because it deals with shape generation and motion. Instead of just manipulating colors, we area manipulating space itself. Let’s break it one by one.

Actually standar shader coordinates start at (0,0) in the top left corner. The code above show -0.5 for shift the coordinate system so that (0,0) is exactly in the center of the view. This makes rotating and scaling the flower much easier math wise. Beside that there is multiplying uv.x as aspect ratio fix, we will ensure our flower remains a perfect circle. Without this, it would look like a stretched oval on non square screens.
The code above will make the flower fell alive, we define variables that change over time. Variable breath uses a sine wave to oscillate between 1.0 (contract) and 1.3 (expand). We use this value later to scale both the size of the petals and their distance from the center. Then, variable rot as a simple linear counter that we use to spin the entire coordinate system slowly.

The code above will apply a standard 2D Rotation Matrix. Instead of trying to calculate where each petal should move, we simply rotate the entire uv coordinate grid. This effectively spins the canvas before we draw anything on it.

The blocks code above is the core drawing logic. We don’t draw a flower sprite, we mathematically construct it. We run a loop 6 time, once for each petal. The offset for calculate the center position of each petal using polar coordinates (sin and cos of the angle). Notice we multiply by breath so the petals move outward as they breathe. Then, the smoothstep function draws the circle, it creates a soft, anti aliased edge instead of jagged pixelated line. It returns 1.0 inside the circle and 0.0 outside. We add all these circles together into accumulatedAlpha.
The last code above will take the shape we created, stored in finalAlpha and apply the color passed from Kotlin. The result is a crisp, animated geometric shape that scales infinitely without losing quality.
To render the geometric shape above, we need to wrap the shader in a composable using Modifier.drawWithCache. This modifier is particularly useful, because it gives us access to the layout’s size before drawing, allowing us to configure the shader’s resolution and uniforms efficiently, like the code below.
@RequiresApi(Build.VERSION_CODES.TIRAMISU)
@Composable
fun PomodoroFlower() {
    val shaderBrush = remember {
        val shader = RuntimeShader(FlowerShaderSource)
        ShaderBrush(shader)
    }
    Box(
        modifier = Modifier
            .size(250.dp)
            .drawWithCache {
                val shader = shaderBrush.createShader(size)
                if (shader is RuntimeShader) {
                    shader.setFloatUniform("resolution", size.width, size.height)
                    shader.setColorUniform("color", android.graphics.Color.WHITE)
                }

                onDrawBehind {
                    drawRect(shaderBrush)
                }
            }
    )
}
Let’s break down the code above to know how we transform a static AGSL string into responsive UI component. We need to look at three specific mechanisms in this function, first is the shader initialization, second is the uniform configuration, and the last is drawing phase.

First, we need to create a ShaderBrush from our AGSL string. We use remember to ensure we only compile the shader string once.
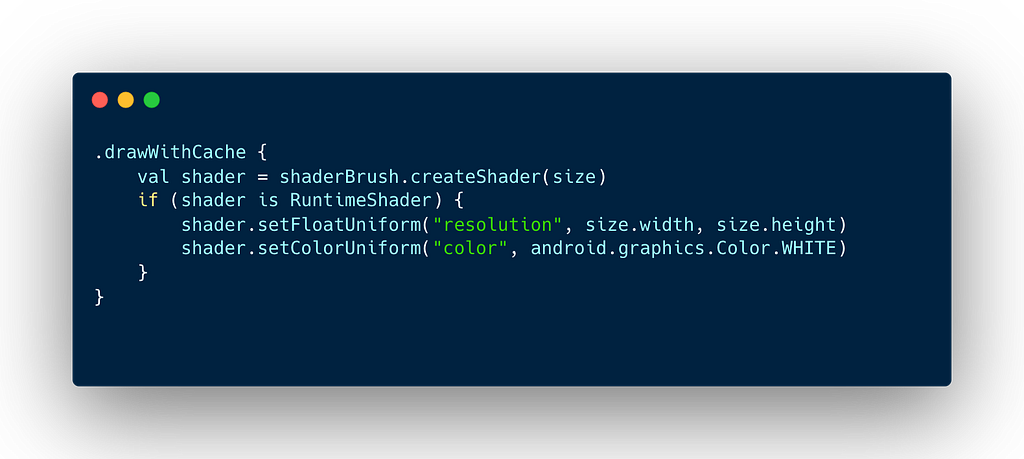
The code above is the critical part, the drawWithCache block provides us with the size of the layout. The createShader(size) for getting the underlying shader instance from brush. Besides that, RuntimeShader instance make us can pass our data. We set the resolution so the shader knows the center point, and we set the color to White (which the shader will apply to the geometric shape).
The code above is where the actual painting happens using onDrawBehind. Because we configured the shader in the block above, when drawRect is called, it uses the shader with the correct resolution an color already set. After compiling the shader, the page will look like the image below.

Currently, our flower is rendered as a static geometric shape because the time variable in the shader is sitting at zero. To bring it to life, we need to feed a continuous stream of values into GPU. Let’s wire up a compose InfiniteTransition to drive the breathing an rotation effects, let’s look at the code below.
val infiniteTransition = rememberInfiniteTransition(label = "flower_loop")
    val time by infiniteTransition.animateFloat(
        initialValue = 0f,
        targetValue = 6.28f,
        animationSpec = infiniteRepeatable(
            animation = tween(4000, easing = LinearEasing),
            repeatMode = RepeatMode.Reverse
        ),
        label = "time"
    )
This code brings the flower to life. Let’s break down the timing and values that make the animation feel natural.
- The engine rememberInfiniteTransition → This creates a persistent transition state that lives as long as the Composable is on screen. It’s the heartbeat of our animation.
- The Range 0f to 6.28f) → This animate from 0 to roughly 2π (2 * PI). The shader relies heavily on trigonometric functions like sin(time) and cos(time). A full sine wave cycle happens over 2π radians. By animating through this specific range, will ensure one complete cycle of movement.
- The Pacing tween and LinearEasing → It will set the duration to 4000ms (4 seconds) with LinearEasing. We use Linear easing because we don’t want the time value itself to speed up or slow down, the shader’s sin() function already handles the easing (the smooth in-out motion) for us. We just need to feed it a steady stream of numbers.
- The Loop RepeatMode.Reverse → This setting the mode to Reverse, the value will count up to 6.28 and then count back down to 0. This causes the flower to breathe in, pause, and then breathe out, creating a smooth, oscillating rhythm rather than a jarring reset.
Now, we integrate the animation variable directly into the rendering pipeline. Inside the PomodoroFlower composable, we simply pass the animated time value to the shader just before drawing.
shader.setFloatUniform("time", time)
The single line is the critical link between our CPU (Kotlin) and the GPU (Shader). time (the key) is string must match the exact name of the variable inside your AGSL code as uniform float time. It tells the GPU which value we want to update. time as the value. This is the animated float from our Compose infiniteTransition. The result is a fully reactive UI component. The video below demonstrates the final breathing and rotation effects running smoothly on the GPU.
Build the Holographic Shader
Next, let’s build the Holographic Button. We will use the following AGSL script to render a dynamic light sweep that loops continuously across the UI element.
@Language("AGSL")
private const val HolographicShader = """
uniform float2 resolution;
uniform float time;
layout(color) uniform half4 baseColor;
half4 main(float2 fragCoord) {
float2 uv = fragCoord / resolution;
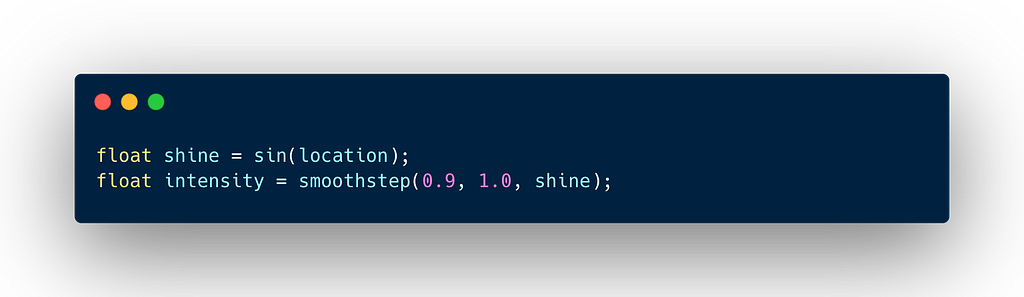
float location = (uv.x + uv.y * 0.5) * 3.0 - (time * 3.0);
float shine = sin(location);
float intensity = smoothstep(0.9, 1.0, shine);
return mix(baseColor, half4(1.0, 1.0, 1.0, 1.0), intensity * 0.3);
}
"""
The code above generates the moving light effect While our previous example focused on rotation, this shader demonstrates how to use linear motion to create a diagonal sweep that loops endlessly across the button. To understand how the code works, we need to look at its three distinct phases, calculating the light beam, and blending it onto the button. Let’s break it down.

This single code above handles the direction, speed, and angle of the light beam. Start from Angle (uv.x + uv.y * 0.5), by adding the X and Y coordinates together, we create a diagonal gradient. Multiplying Y by 0.5 tilts the angle slightly, making it look less like a perfect 45-degree box. Second, Density (* 3.0), this scales the coordinate system up, effectively making the light bands appear narrower and more frequent. Last, movement (- time * 3.0), by subtracting time, we shift the entire coordinate system to the right constantly. This creates the illusion that the light is traveling across the button.
The code above, will start with a standard Sine wave, which goes up and down smoothly between -1 and 1. But we have problem here, a raw sine wave looks like a soft, blurry gradient but we want a sharp, glossy reflection. So, we can use smoothstep, we tell the GPU to ignore everything in the sine wave except the very top tip of the peak or values between 0.9 and 1.0. This cuts off the fuzzy parts of the wave and leaves us with a thin, sharp band of high intensity.

The last is we blend the result. We take our baseColor (Black, in this case). We mix it with Pure White (1.0, 1.0, 1.0, 1.0). The intensity * 0.3 means the shine will never be fully opaque, it will only add a 30% white tint at its brightest point, preserving the button’s text readability while still looking metallic.
Now, let’s wrap this logic in a reusable UI component. The following implementation handles the shader initialization and synchronizes the time uniform with the animation state. Below is the complete Composable implementation, where we combine the RuntimeShader with an infinite animation loop to drive the holographic effect.
@RequiresApi(Build.VERSION_CODES.TIRAMISU)
@Composable
fun ShinyAgslButton(
    text: String,
    onClick: () -> Unit
) {
    val infiniteTransition = rememberInfiniteTransition(label = "shine_loop")
    val time by infiniteTransition.animateFloat(
        initialValue = 0f,
        targetValue = 10f,
        animationSpec = infiniteRepeatable(
            animation = tween(3000, easing = LinearEasing),
            repeatMode = RepeatMode.Restart
        ),
        label = "time_param"
    )
    val shaderBrush = remember {
        val shader = RuntimeShader(HolographicShader)
        ShaderBrush(shader)
    }
    Box(
        modifier = Modifier
            .fillMaxWidth()
            .height(50.dp)
            .clip(RoundedCornerShape(20.dp)
            .clickable(onClick = onClick)
            .drawWithCache {
                val shader = shaderBrush.createShader(size)
                if (shader is RuntimeShader) {
                    shader.setFloatUniform("resolution", size.width, size.height)
                    shader.setFloatUniform("time", time)
                    shader.setColorUniform("baseColor", android.graphics.Color.BLACK)
                }
                onDrawBehind {
                    drawRect(shaderBrush)
                }
            },
        contentAlignment = Alignment.Center
    ) {
        Text(
            text = text,
            color = Color.White,
            style = MaterialTheme.typography.titleMedium.copy(
                fontWeight = FontWeight.Medium,
                letterSpacing = 0.5.sp
            )
        )
    }
}
Now, let’s look under the hood. We will break down the code block by block to see how we transform a static AGSL string into a interactive, glistening button.

The code above is for animation for the button, we use RepeatMode.Restart. This causes the time value to go 0 →10, then immediately snap back to 0. It will creates the effect of a light beam entering from one side, exiting the other, and then appearing again from the start, just like a lighthouse scanner or a sheen on a credit card.

Shaders, by default, draw into a rectangular bounding box. To make our button look like a modern UI element, we apply a clip(RoundedCornerShape(20.dp)) before the drawing modifier. This ensures that even though the shader paints a rectangle, the pixels outside the rounded corners are cut off, keeping the UI clean.

The code above will pass Black as the base color. This serves as the background for the button. The shader will then add the white shine on top of this black base. We could easily change this to our brand color to make the button fit your specific design system. Here is the final rendered result, demonstrating the holographic sweep effect in action.
To fully replicate the design we started with, we need to add the supporting typography. Here is the final code structure, which layers our text and icons over the shader background to complete the UI.
RequiresApi(TIRAMISU)
@Composable
fun AgslShowcaseApp() {
    val tealGrey = Color(0xFF7DA6A8)
    val warmBeige = Color(0xFFBCAAA4)

    AgslGradientBackground(
        topGradientColor = tealGrey,
        bottomGradientColor = warmBeige
    ) {
        Column(
            modifier = Modifier
                .fillMaxSize()
                .padding(24.dp)
                .statusBarsPadding(),
            horizontalAlignment = Alignment.Start
        ) {
            IconButton(
                onClick = {  },
                modifier = Modifier.offset(x = (-12).dp)
            ) {
                Icon(
                    imageVector = Icons.AutoMirrored.Filled.ArrowBack,
                    contentDescription = "Back",
                    tint = Color.White,
                    modifier = Modifier.size(28.dp)
                )
            }

            Spacer(modifier = Modifier.height(16.dp))

            Text(
                text = "Read anbook",
                style = MaterialTheme.typography.displayMedium.copy(
                    fontWeight = FontWeight.Normal,
                    lineHeight = 44.sp
                ),
                color = Color.White
            )

            Spacer(modifier = Modifier.height(8.dp))

            Text(
                text = "2 Pomodoros done today",
                style = MaterialTheme.typography.bodyLarge,
                color = Color.White.copy(alpha = 0.8f)
            )

            Box(
                modifier = Modifier
                    .weight(1f)
                    .fillMaxWidth(),
                contentAlignment = Alignment.Center
            ) {
                PomodoroFlower()
            }

            Text(
                text = "25 minutes left",
                style = MaterialTheme.typography.headlineSmall,
                color = Color.White,
                modifier = Modifier.align(Alignment.CenterHorizontally)
            )
            Spacer(modifier = Modifier.height(40.dp))
            ShinyAgslButton(
                text = "Start timer",
                onClick = { /* Start Timer */ }
            )
            Spacer(modifier = Modifier.height(24.dp))
        }
    }
}
The code above is final assembly in this main Composable, we combine all our previous code. We define our theme colors (tealGrey and warmBeige) and pass them to the background shader. The rest of the layout is a standard vertical stack, header text at the top, the breathing flower shader in the center using weight(1f) to fill space, and our holographic button at the bottom.

Takeaways
In this case study, we didn’t just build a landing page, we created an atmosphere. We moved away from the constraints of static assets and embraced the flexibility of the GPU. From solving the common problem of gradient color banding with procedural noise to creating a complex, animated hero graphic from scratch, AGSL proved to be a powerful tool in the modern Android developer’s kit. The most exciting part is that this seamless integration with Jetpack Compose means these high-performance effects are no longer reserved for game engines. They are ready to be used in your production apps today to delight your users.
If you found this article helpful, please consider giving it a clap to show your support! Don’t forget to follow my account for more engaging insights about Android Technology. You can also connect with me on social media through the links Instagram, LinkedIn, X. I’d love to connect, hear your thoughts and see what amazing things you build!
Stay curious, and happy coding ! 😃
Exploring AGSL Effects in a Single Landing Page View was originally published in ProAndroidDev on Medium, where people are continuing the conversation by highlighting and responding to this story.


This Post Has 0 Comments