 [[{“value”:”
Creating professional-looking videos on an iPhone can feel limiting. Standard video keeps everything in focus, which often makes clips look flat and less engaging. Achieving cinematic background blur typically requires expensive cameras or complex editing software. That’s exactly where Apple’s Cinematic mode comes in.
Introduced with iPhone 13, Cinematic mode adds shallow depth of field, smart focus shifts, and lets you edit focus even after recording. All of it works right inside the Camera app. With just a few taps, you can turn everyday videos into polished, movie-style clips without any advanced skills.
Here’s everything you need to know about the Cinematic mode on iPhone.
Table of Contents
- What is Cinematic Mode on iPhone?
- What is the Difference Between Cinematic and Normal Video on iPhone?
- Which iPhones Have Cinematic Mode?
- How to Record a Cinematic Video with Your iPhone Camera
- How to Edit a Cinematic Video on iPhone
- Tips to shoot better cinematic videos on iPhone
- Common Cinematic Mode Problems and Fixes
- Signing Off…
What is Cinematic Mode on iPhone?
Cinematic mode is a video recording mode on iPhones that adds a beautiful depth-of-field effect to your videos, which is to say, it blurs the background to emphasize focus on the subject. This effect gives the video a professional appeal, which many refer to as “movie-like aesthetics.”
iPhones use computational photography combining software and hardware capabilities to mimic the behavior of professional cameras. Put simply, Cinematic mode captures high-quality depth data in Dolby Vision HDR at 30 frames per second to determine the exact distance between the camera and all the subjects in the frame. Then, combined with machine learning from the Neural Engine, the camera smartly picks what to focus on and when to apply focus transitions. You can manually lock focus on a subject, like a person or a thing, to track them throughout the scene if needed.
Another standout feature of Cinematic mode is that it enables your iPhone camera to adjust focus dynamically. For example, if a new subject comes into the frame or the current one looks away, the focus changes automatically. This guides the viewers’ attention and helps tell a story better. Moreover, you can even change the focus or tweak the bokeh effect after the video has been shot.
What is the Difference Between Cinematic and Normal Video on iPhone?
If you’re wondering how a Cinematic mode video differs from a standard video, here’s what you need to do.
- Focus control: With Cinematic mode, you can manually or automatically shift focus between subjects. In a normal video, though, focus stays fixed or changes only on touch.
- Depth-of-field effect: Cinematic mode offers a blurred background effect, while normal video captures all elements in focus.
- Frame rate: Cinematic mode records at 30fps for a cinematic aesthetic, whereas normal video supports a variety of frame rates and resolutions.
- Editing options: You can edit the depth-of-field effect and focus points on Cinematic mode videos after recording. However, such adjustments are unavailable in standard video.
These differences significantly improve the iPhone’s capabilities as a filmmaking device and create exciting new possibilities for video production, particularly on a low budget or with limited resources.
Which iPhones Have Cinematic Mode?
Cinematic mode is available on the following iPhone models:
- iPhone 13, 13 mini, 13 Pro, and 13 Pro Max
- iPhone 14, 14 Plus, 14 Pro, and 14 Pro Max
- iPhone 15, 15 Plus, 15 Pro, and 15 Pro Max
- iPhone 16, 16 Plus, 16 Pro, and 16 Pro Max
- iPhone 17, 17 Pro, and 17 Pro Max
These devices feature advanced A-series chips and enhanced camera hardware to support Cinematic mode.
How to Record a Cinematic Video with Your iPhone Camera
Now that you understand the feature well, let’s learn how to use Cinematic mode on an iPhone to elevate your video content, whether you’re a beginner or a budding filmmaker.
Recording a cinematic video is straightforward. This is what the process looks like:
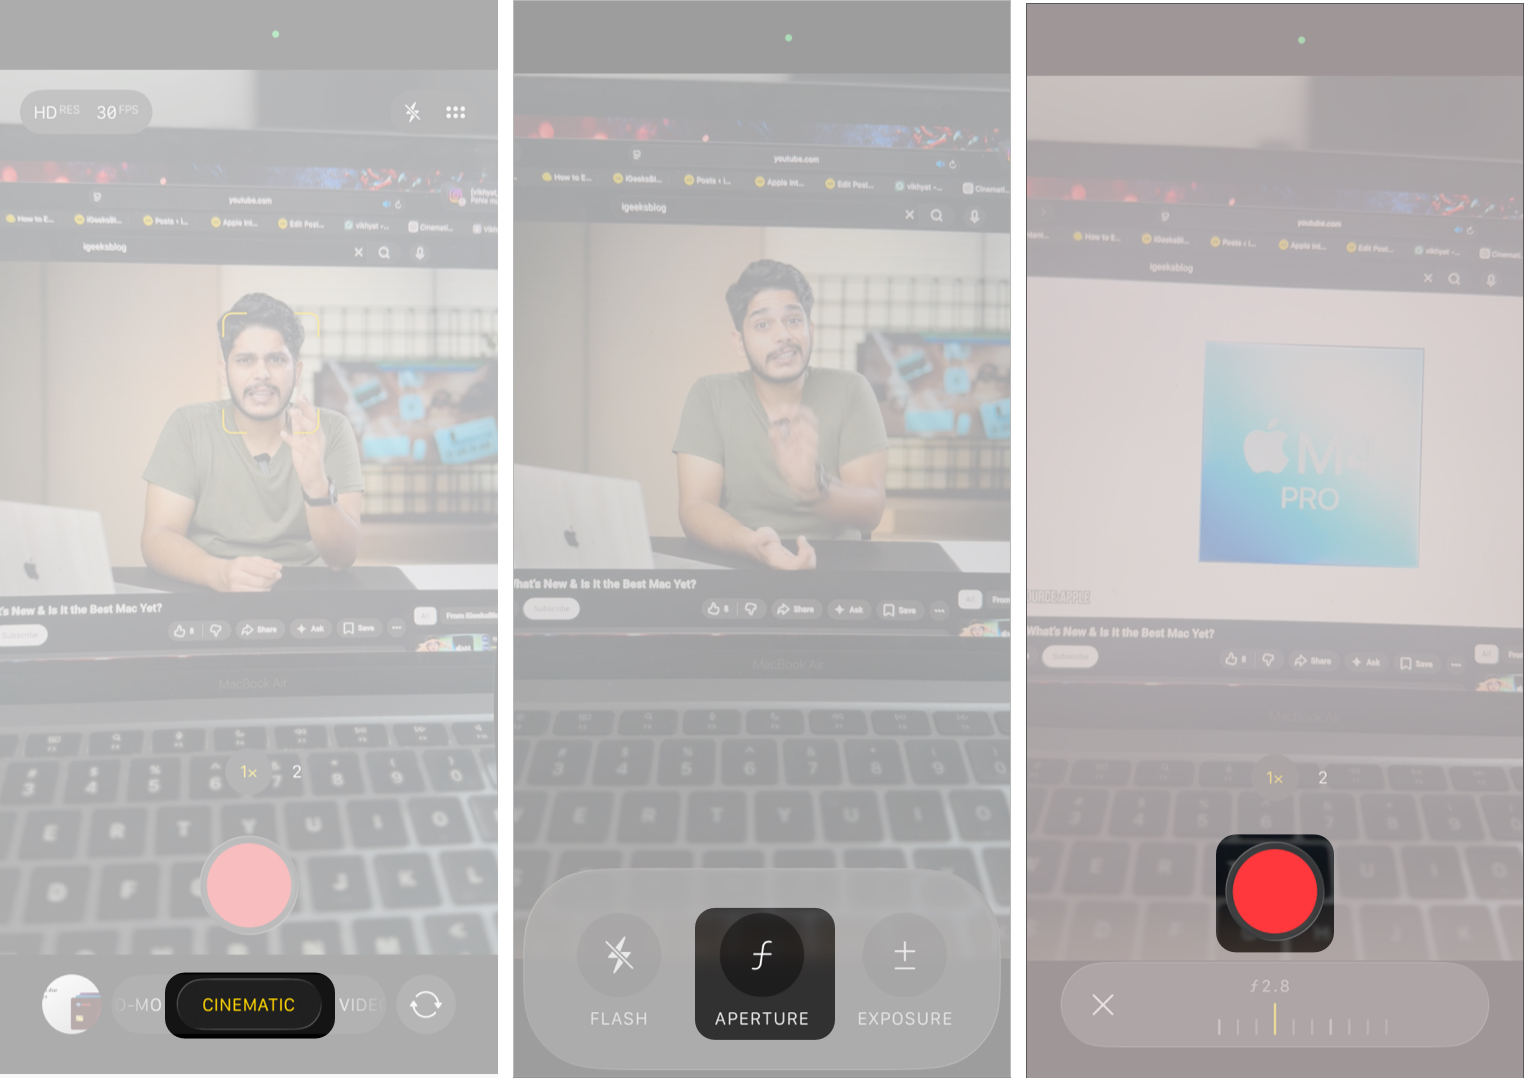
- Open the Camera app on your iPhone.
- Swipe to Cinematic mode and set the frame.
- Tap the Cinematic mode button to reveal controls for focal length, flash, and exposure.
- Next, tap the f (Aperture) button, then adjust the depth using the slider that appears to add or remove background blur.
- Similarly, you can adjust the Exposure or turn the Flash on or off.
- On iPhone 16 models, you can use the Camera Control button to adjust focus depth, exposure, and zoom.
- Tap on a person or object in the frame to lock focus.
- Tap the Record button to start recording.
By default, Cinematic mode records in 1080p at 30 fps. However, you can also change the recording quality before starting the video by tapping the resolution and frame rate options at the top right of the Camera app, then switch to 4K for better clarity and choose between 24 or 30 fps on iPhone 14 and later models.
How to Edit a Cinematic Video on iPhone
Editing Cinematic mode videos is easy and doesn’t require additional tools. You can adjust focus and blurring level even after capturing the video. Here’s how:
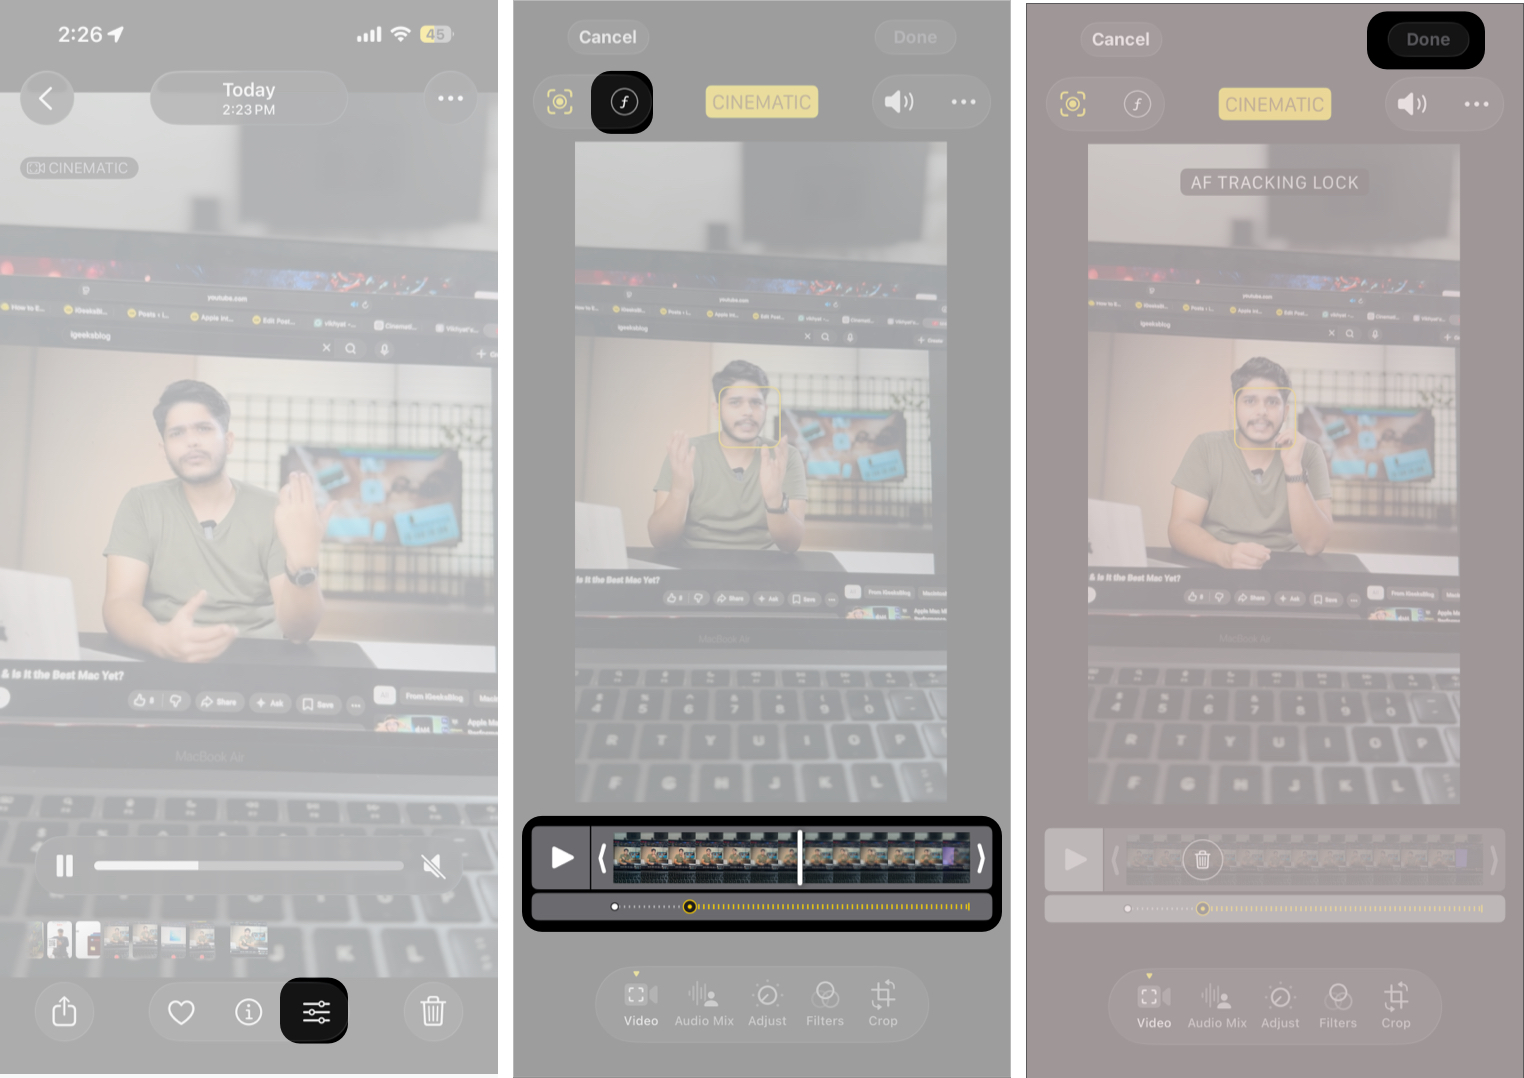
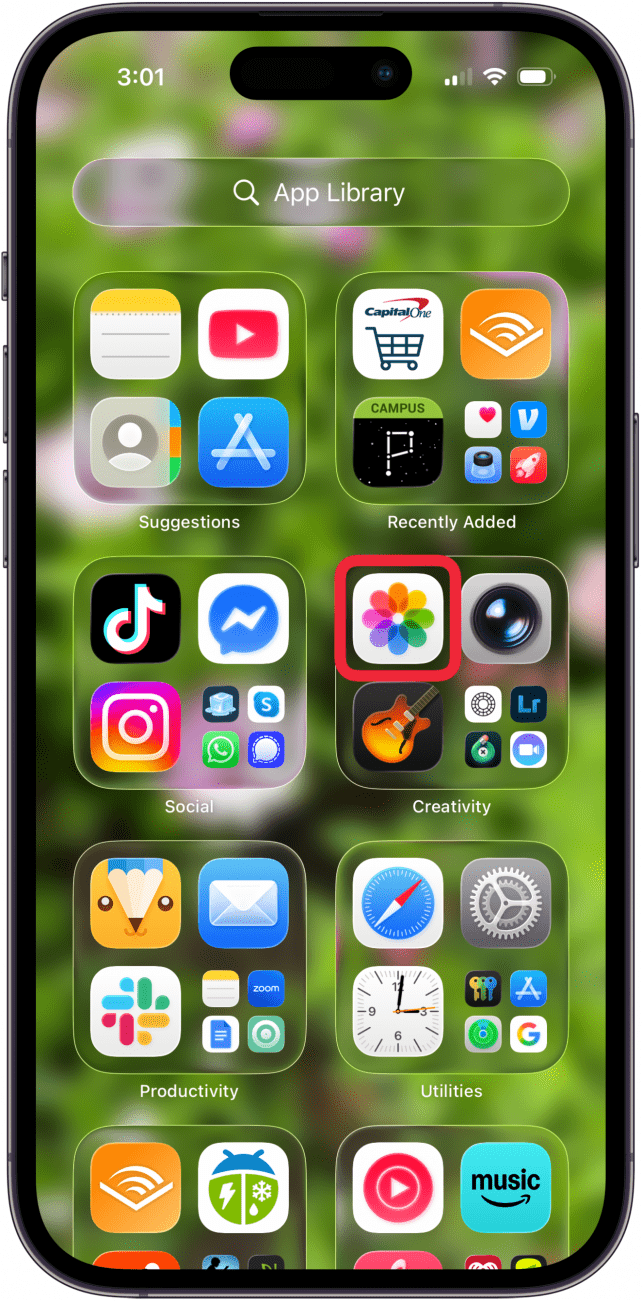
- Go to the Photos app and open the cinematic video you just shot.
- Tap the Edit icon from the bottom toolbar.
- Scrub through the timeline to select the frame you want to edit.
- Tap on any subject to change focus at that moment.
- Tap the f button, then use the slider to adjust blur strength.
- You can also manually delete focus transitions by tapping the focus dots on the timeline.
- Tap Done to save the changes.
You can also apply a filter, trim the clip, adjust color, etc., just like normal videos. For a detailed guide, check out how to edit videos on iPhone and iPad.
Tips to shoot better cinematic videos on iPhone
Here are some tips to make the most of Cinematic mode:
- Lighting should be appropriate: The subject should be well-lit. Cinematic mode performs best in good lighting conditions. Low light can reduce the effectiveness of the depth-of-field effect. Consider using portable lights for indoor or nighttime shoot positions for consistent lighting.
- Stabilize your iPhone: Shaky footage can detract from the cinematic look. Use an iPhone tripod or stabilizer to keep your shots smooth and professional.
- Experiment with angles: Try different angles and perspectives to make your videos more engaging.
- Keep subjects at a suitable distance: For the best depth-of-field effect, ensure there is adequate distance between your subject and the background.
- Use accessories: Step up your game with videography accessories like external microphones and attachable lenses, which add a more cinematic look to whatever you’re filming.
Common Cinematic Mode Problems and Fixes
| Problem | Why It Happens | How to Fix It |
|---|---|---|
| Background blur looks weak | The subject is too close to the background or depth is set low | Move your subject farther from walls or objects and increase blur using the f slider |
| Focus keeps changing automatically | iPhone detects new subjects and shifts focus on its own | Tap and hold on your main subject to lock focus before recording |
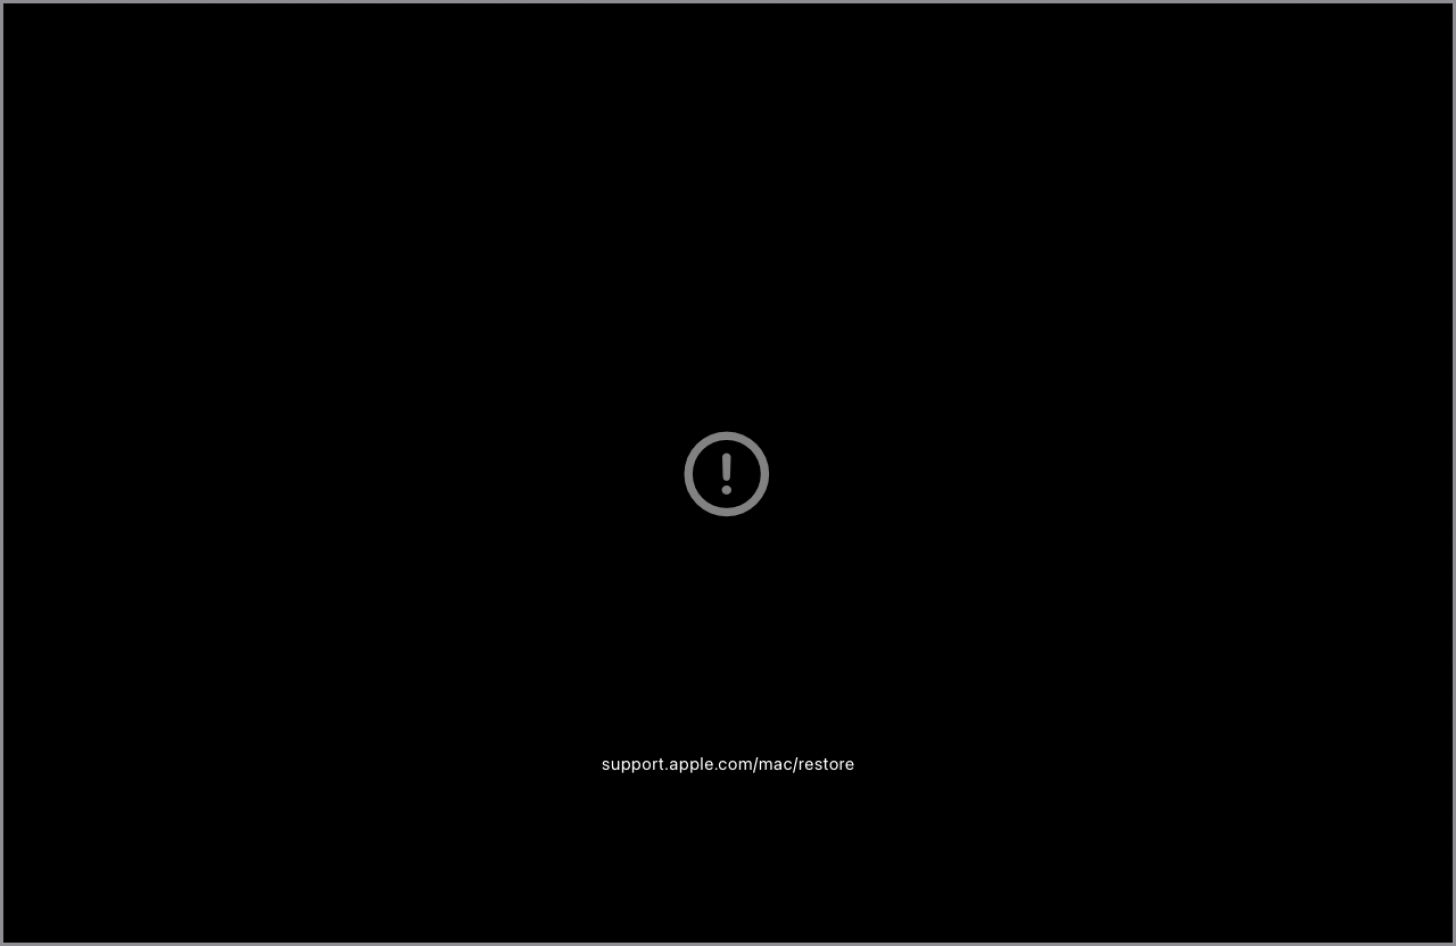
| Cinematic mode is missing | Your iPhone model does not support Cinematic or you’re not in video modes | Make sure you’re using iPhone 13 or newer and swipe through camera modes |
Signing Off…
The Cinematic mode on iPhones is a game-changer if you want to shoot professional-quality videos without expensive equipment. With its advanced features and editing capabilities, you can easily produce visually stunning content right on your iPhone.
So go ahead and try the mode yourself. With a little practice, you should soon be able to shoot cinematic videos with your iPhone like a pro.
FAQs
Action mode is designed for stabilization during fast movements, while Cinematic mode focuses on adding depth-of-field effects and dynamic focus transitions. To learn more, go through our guide on using Action mode on iPhones.
Yes, Cinematic mode works with the front-facing camera on supported iPhones.
You can record in up to 4k resolution at 24, 25, or 30 fps on iPhone 14 and later models or 1080p at 30fps on iPhone 13 series.
No, but you can edit the video to reduce the depth-of-field effect. Open the video in the Photos app, tap the edit icon, select the f button, and move the slider all the way to the right.
Read more:
- How to capture spatial photos and videos on iPhone 16 and 15 Pro series
- How to extract audio from video on iPhone and iPad
- How is the iPhone 16 Pro redefining smartphone photography?
- What is HDR on iPhone and how to use it?
The post How to Use Cinematic Mode on iPhone: A Beginner’s Guide appeared first on iGeeksBlog.”}]]

This Post Has 0 Comments