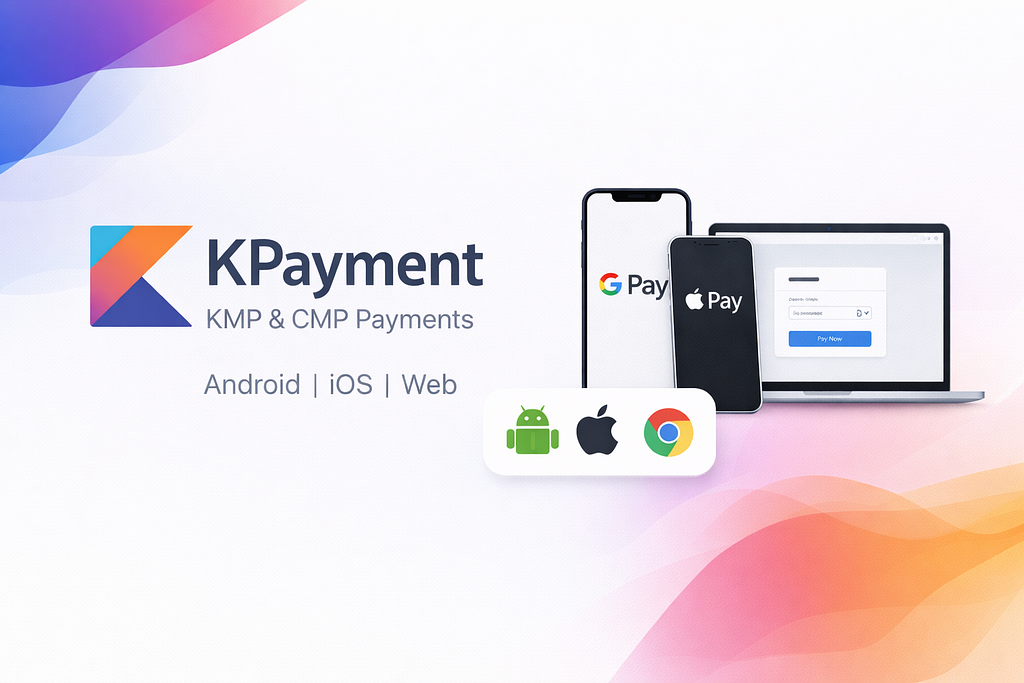

How KPayment Makes Google Pay & Apple Pay Boring Across Android, iOS, and Web
At KttiPay we recently built Money Requests with Auto Reminders. It came with one simple requirement: paying back has to be fast and consistent on every platform we support. That pushed us into Apple Pay and Google Pay across our Kotlin Multiplatform stack.
Integrating Apple Pay and Google Pay in a Kotlin Multiplatform app sounds straightforward until you actually try it. Different SDKs, different lifecycles, different UI entry points. Suddenly, your shared UI is full of platform checks, and the platform source sets are packed with empty stubs just to make things compile.
We built KPayment to kill that pattern and make payments boring again across Android, iOS, and Web (JS/WASM).
Let’s follow one payment attempt end-to-end and see what clean KMP integration actually looks like.
Three platforms, three completely different problems
The pain isn’t just different SDKs. It’s different mental models at every layer:
On Android, you’re dealing with the Google Wallet API, an Activity-based flow where you fire a request, wait for onActivityResult, and manually map the result back to your UI state. Miss the lifecycle window and the result disappears silently.
On iOS, it’s PassKit. You instantiate a PKPaymentAuthorizationController, implement a delegate protocol in Swift or Objective-C, and bridge the result back across the Kotlin/Native boundary. Every team handles this differently. There’s no standard.
On Web, it forks again. Google Pay has a JavaScript API that works in most browsers. Apple Pay on the web is Safari-only and requires a merchant validation endpoint on your backend, a confirmation that your server has to handle before the payment sheet even appears.
The KMP community has solved networking with Ktor, image loading with Coil, and storage with Room. Payments had no equivalent. Every team was rolling their own expect/actual wrappers and hoping for the best.
A payment has to earn the right to show up
Before diving into any complexity, there’s a question your UI needs to answer: can this device actually pay right now?
“Supported” is static. Real readiness is dynamic. Wallet setup, network conditions, regional rules, browser limitations, and the current OS state can all turn “this should work” into “not on this device”.
So KPayment doesn’t treat payment availability like a feature flag. It exposes it as a Kotlin flow you observe, just like any other piece of UI state.
val manager = rememberMobilePaymentManager(config)

val isReady by manager
    .observeAvailability(currentNativePaymentProvider())
    .collectAsState(initial = false)
When isReady is false, the button should not be shown to the user. When it becomes true, because the wallet finished loading, or the OS state changed — the button should appear dynamically.
In case you need more details, checkCapabilities() gives the full picture per provider. This is the state machine a proper payment UI actually needs:
val capabilities = manager.checkCapabilities()

when (capabilities.googlePay) {
    CapabilityStatus.Ready
    CapabilityStatus.Checking
    CapabilityStatus.NotSupported
    CapabilityStatus.NotConfigured
    is CapabilityStatus.Error
}
One config model for all three platforms
On a typical KMP project the platform difference starts with a separate config objects, initialization paths and places for things to go wrong.
KPayment uses a single MobilePaymentConfig for Android and iOS. You configure both providers in one place, and null out whichever doesn’t apply to a given target:
val config = MobilePaymentConfig(
    environment = PaymentEnvironment.Production,
    googlePay = GooglePayConfig(
        merchantId = "YOUR_MERCHANT_ID",
        merchantName = "Your Store",
        gateway = "stripe",
        gatewayMerchantId = "YOUR_GATEWAY_ID",
        currencyCode = "AUD",
        countryCode = "AU"
    ),
    applePayMobile = ApplePayMobileConfig(
        merchantId = "merchant.com.yourcompany.app",
        base = ApplePayBaseConfig(
            merchantName = "Your Store",
            currencyCode = "AUD",
            countryCode = "AU"
        )
    )
)
The shared code never sees Context, Activity, or UIViewController. The library handles the platform-specific code internally. You configure once and the manager knows what to do on each target.
For web the config is WebPaymentConfig. The GooglePayConfig type is the same one you used for mobile, however the Apple Pay on web adds the merchant validation endpoint your backend needs to serve:
val webConfig = WebPaymentConfig(
    environment = PaymentEnvironment.Production,
    googlePay = GooglePayConfig(  // same type as mobile
        merchantId = "YOUR_MERCHANT_ID",
        merchantName = "Your Store",
        gateway = "stripe",
        gatewayMerchantId = "YOUR_GATEWAY_ID"
    ),
    applePayWeb = ApplePayWebConfig(
        base = ApplePayBaseConfig(merchantName = "Your Store"),
        merchantValidationEndpoint = "https://yourapp.com/apple-pay/validate",
        baseUrl = "https://yourapp.com",
        domain = "yourapp.com"
    )
)
One button, one launcher, one result
This is where it comes together. The full payment flow for Android and iOS in Compose Multiplatform:
@Composable
fun PaymentScreen() {
    val manager = rememberMobilePaymentManager(config)

    val isReady by manager
        .observeAvailability(currentNativePaymentProvider())
        .collectAsState(initial = false)

    PaymentManagerProvider(manager) {
        val launcher = rememberNativePaymentLauncher { result ->
            when (result) {
                is PaymentResult.Success   -> sendToBackend(result.token)
                is PaymentResult.Error     -> handleError(result)
                is PaymentResult.Cancelled -> { /* user cancelled, no action */ }
            }
        }

        val isProcessing by launcher.isProcessing.collectAsState()

        PaymentButton(
            theme = NativePaymentTheme.Dark,
            type = NativePaymentType.Pay,
            enabled = isReady && !isProcessing
            radius = 12.dp,
            onClick = { launcher.launch("10.00") }
        )
    }
}
On Android, PaymentButton renders a Google Pay button. On iOS, it renders an Apple Pay button. The Compose code is identical. The platform handling is entirely inside the library.
It’s important to mention the launcher.isProcessing . It’s a StateFlow<Boolean> that’s true while a payment is in flight. Wire it in enabled and you get double-tap protection for free, without managing any state yourself.
The full sample apps for mobile and web are on GitHub.
What comes back and what can go wrong
Every payment resolves to PaymentResult, a sealed class with three branches:
Success carries a token — the opaque payment token you send to your backend (Stripe, Braintree, or any other processor you’re using) to complete the charge.
Cancelled means the user dismissed the sheet. It’s not an error. No need to show error UI, just let the user continue.
Error is where the detail lives. The reason field is an enum with a specific value for every failure mode, and what you do with each one is different.
is PaymentResult.Error -> when (result.reason) {
    PaymentErrorReason.Timeout      -> retryAfterDelay()
    PaymentErrorReason.NetworkError -> showNetworkError()
    PaymentErrorReason.InternalError -> retryWithBackoff()
    PaymentErrorReason.NotAvailable -> showAlternativePayment()
    PaymentErrorReason.DeveloperError -> logAndAlert()
    PaymentErrorReason.AlreadyInProgress -> { /* no-op */ }
    else -> showGenericError(result.message)
}
Web is a first-class target
The web integration deserves its own moment because no comparable KMP library supports it. If you’re shipping a Compose for Web or WASM, or even if you simply using the Kobweb library for native UI — payments work there too.
The main difference from mobile: Google Pay and Apple Pay have separate launchers on web, because the browser APIs are distinct and the capability checks are per provider. Meaning you might have Google pay and Apple pay available on the webpage at the same time.
@Composable
fun WebPaymentScreen() {
    val manager = rememberWebPaymentManager(webConfig)

    PaymentManagerProvider(manager) {
        val googlePay = rememberGooglePayWebLauncher { result ->
            when (result) {
                is PaymentResult.Success -> sendToBackend(result.token)
                is PaymentResult.Error   -> handleError(result)
                is PaymentResult.Cancelled -> { }
            }
        }

        val applePay = rememberApplePayWebLauncher { result ->
            when (result) {
                is PaymentResult.Success -> sendToBackend(result.token)
                is PaymentResult.Error   -> handleError(result)
                is PaymentResult.Cancelled -> { }
            }
        }

        Button(onClick = { googlePay.launch("10.00") }) {
            Text("Pay with Google Pay")
        }

        // Only show in Safari — observeAvailability handles this automatically
        Button(onClick = { applePay.launch("10.00") }) {
            Text("Pay with Apple Pay")
        }
    }
}
Apple Pay on web is Safari-only and requires your backend to respond to a merchant validation request before the payment sheet appears.
What’s inside the box
KPayment ships as three modules so you only pull in what you need. A mobile-only project never touches payment-web:
KPayment/
├── payment-core    Shared interfaces, config models, result types
├── payment-mobile  Android + iOS implementations, Compose helpers
└── payment-web     Web (JS/WASM) implementation
[versions]kpayment = "0.1.0"

[libraries]kpayment-core   = { module = "com.kttipay:kpayment-core",   version.ref = "kpayment" }
kpayment-mobile = { module = "com.kttipay:kpayment-mobile", version.ref = "kpayment" }
kpayment-web    = { module = "com.kttipay:kpayment-web",    version.ref = "kpayment" }
kotlin {
    sourceSets {
        commonMain.dependencies {
            implementation(libs.kpayment.core)
        }
        androidMain.dependencies {
            implementation(libs.kpayment.mobile)
        }
        iosMain.dependencies {
            implementation(libs.kpayment.mobile)
        }
        jsMain.dependencies {
            implementation(libs.kpayment.web)
        }
        wasmJsMain.dependencies {
            implementation(libs.kpayment.web)
        }
    }
}
What’s next
KPayment is actively maintained and used in production inside KttiPay. If you want to get involved, the repo is open. Issues, pull requests, and discussions are all welcome.
If KPayment saves you from maintaining three separate payment integrations, a ⭐ on GitHub is the best way to help other KMP developers find it.
Drop a comment below with any questions or feedback.
GitHub – kttipay/KPayment: Cross-Platform Apple Pay & Google Pay for Kotlin Multiplatform
Built by merkost and diogocavaiar at KttiPay.
KPayment: Cross-Platform Apple Pay & Google Pay for Kotlin Multiplatform was originally published in ProAndroidDev on Medium, where people are continuing the conversation by highlighting and responding to this story.

This Post Has 0 Comments