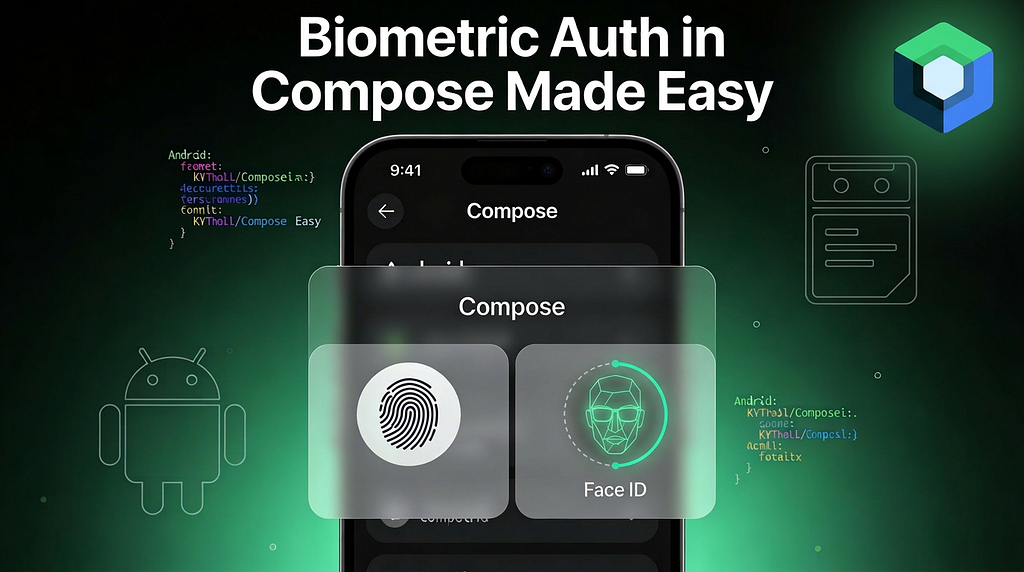

In this article, we will learn how to integrate a new library biometric-compose into Android applications for Biometric integration.
A new biometric-compose library simplifies the integration of biometrics into Compose-based applications.
Implementation
Dependencies
    implementation("androidx.biometric:biometric:1.4.0-alpha06")
    implementation("androidx.biometric:biometric-compose:1.4.0-alpha06")
rememberAuthenticationLauncher

- A composable function to streamline biometric authentication requests and callbacks directly in composables.
- It returns AuthenticationResultLauncher that we can use to initiate the authentication process.
- We need to pass a callback of type AuthenticationResultCallback . It will be called when an AuthenticationResult is available.
A successful or error result will be delivered to AuthenticationResultCallback.onAuthResult , and failures will be delivered to AuthenticationResultCallback.onAuthAttemptFailed, which is set by a callback.
The 👆callback will be executed on the main thread.
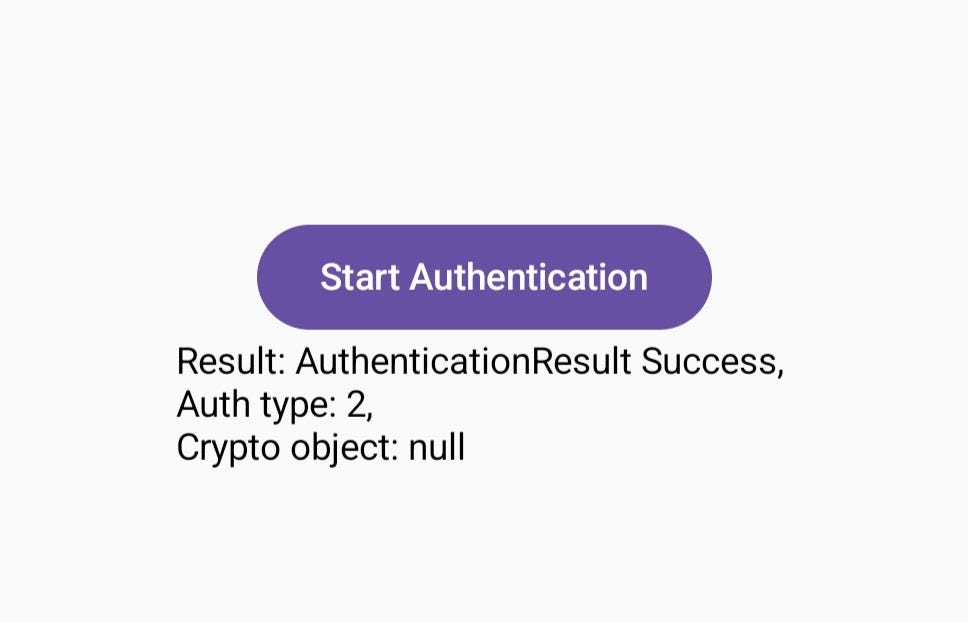
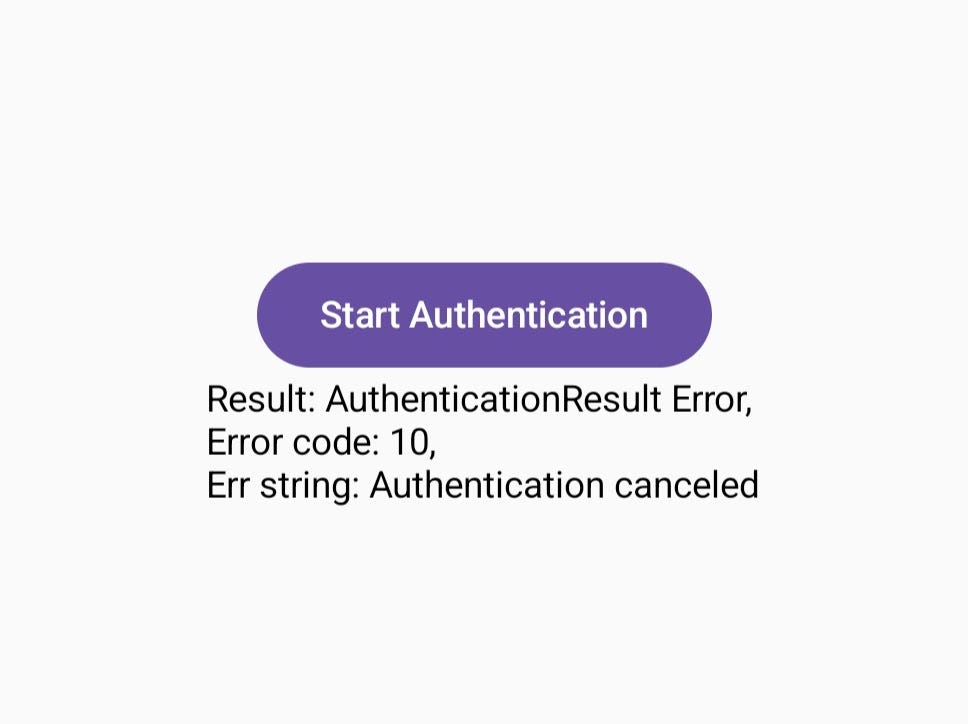
fun AuthenticationResult.processAuthResult(){
     when (this) {
        is AuthenticationResult.Success ->
            Log.d(TAG, "AuthenticationResult Success, nAuth type: $authType, nCrypto object: $crypto")

        is AuthenticationResult.Error ->
            Log.d(TAG,"AuthenticationResult Error, nError code: $errorCode, nErr string: $errString")

        is AuthenticationResult.CustomFallbackSelected -> {
            Log.d(TAG,"AuthenticationResult CustomFallbackSelected ${fallback.text}")
        }
    }
}
AuthenticationResultType

AuthenticationError (Error code)

🧑💻 Code: rememberAuthenticationLauncher
val launcher =
    rememberAuthenticationLauncher(
        resultCallback =
            object : AuthenticationResultCallback {
                override fun onAuthResult(result: AuthenticationResult) {
                    Log.d(TAG, "onAuthResult: $result")
                    processAuthResult()
                }
                override fun onAuthAttemptFailed() {
                    super.onAuthAttemptFailed()
                    Log.d(TAG, "onAuthAttemptFailed: ")
                }
            }
    )
🚀 Initiate the auth process
- Here we need to pass the AuthenticationRequest — It’s basically the configuration of the request. Like title, fallbacks, subtitle, icon, etc.
- In the following code, we are using the static function biometricRequest from AuthenticationRequest class to create a AuthenticationRequest

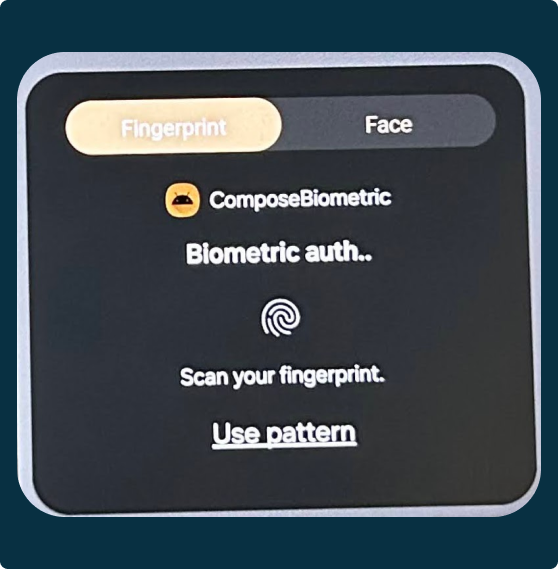
Button(
    onClick = {
        launcher.launch(
            biometricRequest(
                title = "Biometric auth..",
                authFallbacks = arrayOf(AuthenticationRequest.Biometric.Fallback.DeviceCredential),
            ) {
                // Optionally set the other configurations.
                // setSubtitle(), setContent(), etc.
              }
        )
    }
) {
    Text(text = "Start Authentication")
}
👇Prompt without any customization based on the above 👆 implementation
Customization of the prompt
Subtitle
Button(
    onClick = {
        launcher.launch(
            biometricRequest(
                title = "Biometric auth..",
                authFallbacks = arrayOf(AuthenticationRequest.Biometric.Fallback.DeviceCredential),
            ) {
                setSubtitle("Subtitle goes here...")
              }
        )
    }
) {
    Text(text = "Start Authentication")
}
Logo
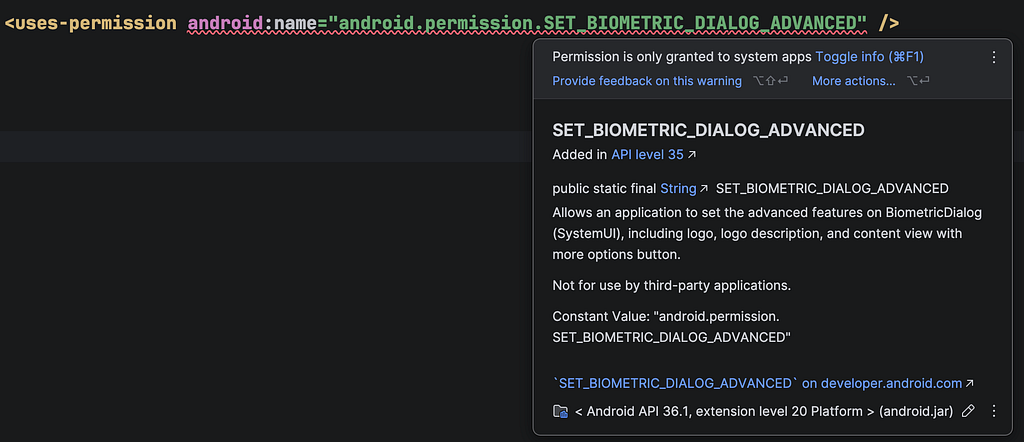
- This requires SET_BIOMETRIC_DIALOG_ADVANCED permission.
- This permission is granted only to system apps, so it would be better to let the library show the application’s logo in the prompt.

Button(
    onClick = {
        launcher.launch(
            biometricRequest(
                title = "Biometric auth..",
                authFallbacks = arrayOf(AuthenticationRequest.Biometric.Fallback.DeviceCredential),
            ) {
                setLogoRes(R.drawable.food_bank_24px)
                 //....
              }
        )
    }
) {
    Text(text = "Start Authentication")
}
Description
- setContent(content: BodyContent?) : A single parameter of type BodyContent will be used to display the description.
- BodyContent: It’s an abstract class, and we have the following 3 implementations that we can use
PlainText , VerticalList, & ContentViewWithMoreOptionsButton
ContentViewWithMoreOptionsButton : Requires SET_BIOMETRIC_DIALOG_ADVANCED
BodyContent class
public abstract class BodyContent private constructor() {

    public class PlainText public constructor(public val description: String) : BodyContent()

    public class VerticalList
    @JvmOverloads
    public constructor(
        public val description: String? = null,
        public val items: List<PromptContentItem> = listOf(),
    ) : BodyContent()


    public class ContentViewWithMoreOptionsButton
    @RequiresPermission(SET_BIOMETRIC_DIALOG_ADVANCED)
    @JvmOverloads
    public constructor(public val description: String? = null) : BodyContent()
}
Button(
    onClick = {
        launcher.launch(
            biometricRequest(
                title = "Biometric auth..",
                authFallbacks = arrayOf(AuthenticationRequest.Biometric.Fallback.DeviceCredential),
            ) {
                setContent(AuthenticationRequest.BodyContent.PlainText("Description"))
                setContent(
                    AuthenticationRequest.BodyContent.VerticalList(
                        "Description",
                        listOf(
                            PromptContentItemPlainText("Item1..."),
                            PromptContentItemBulletedText("Bulleted item...")
                        )
                    )
                )
            }
        )
    }
) {
    Text(text = "Start Authentication")
}
👇Prompt with custom subtitle, and description based on the above implementation 👆

Authfallbacks
- If we don’t provide any auth fallbacks when creating the AuthenticationRequest, the default cancel button will be shown in the prompt.
Button(
    onClick = {
        launcher.launch(
            biometricRequest(
                title = "Biometric auth.."
            ) {
                // Configuration goes here,...

            }
        )
    }
) {
    Text(text = "Start Authentication")
}

References
Biometric | Jetpack | Android Developers
Stay in touch
https://www.linkedin.com/in/navczydev/
Biometric Auth in Compose Made Easy: The New Library You Need was originally published in ProAndroidDev on Medium, where people are continuing the conversation by highlighting and responding to this story.


This Post Has 0 Comments